DocFax FAQ
What to Do if Your Fax Failed to Send?
If your fax didn’t go through, don’t worry. Here’s what you can do to fix the issue:
1. Check for Errors: First, double-check your fax details. Common issues could include incorrect recipient details.
2. Recipient Line Busy: Sometimes, a fax may fail if the recipient's line is busy or unavailable. Try again later, as this could be a temporary issue.
3. Resend the Fax: If everything looks correct, tap the "Resend" button to try sending your fax again.
4. Still Not Working?: If the above steps don’t resolve the issue, you can request a refund for the failed fax from the app store, as your fax pack may not have been successfully used.
We’re here to help, and we want to make sure your faxing experience is as smooth as possible!
In-App Purchase Issue
If you're encountering a situation where in-app purchases are not allowed or are not working in your app, Please follow the steps below:
1. Open the "Settings" app.
2. Go to "Screen Time" > "Content & Privacy Restrictions" > "iTunes and App Store Purchases"
3. Tap "In-app Purchase" and select "Allow".
Note: You need to log in to the Apple ID which was used for the app download.
Google Service Verification Issue

If you see the message "Google hasn't verified this app" when trying to use Google service, it's due to recent changes in Google's SDK verification process. As a result, the app is currently flagged as "unverified." This does not affect the functionality of the app, and you can still proceed with your tasks by following the steps below:
1. Tap the "Advanced" button.
2. Tap the "Go to DocFax (unverified)" button.
3. Proceed to the login page and continue as usual.
We are aware of this issue and are working with Google's OAuth team to get the app verified. Once the process is complete, the warning will no longer appear. Rest assured, the app is safe to use, and your data is secure. We appreciate your patience as we resolve this matter.
Billing and Payments
Get an invoice for in-app purchase
To get an invoice for your in-app purchase made through the Apple App Store, follow these steps:
Using Your iPhone or iPad:
1. Open the Settings app.
2. Tap your Apple ID at the top of the screen (your name).
3. Tap Media & Purchases.
4. Select View Account.
5. Under Purchase History, tap Purchase History.
6. Find the in-app purchase you're looking for and tap on it. You will see the details of the transaction, but Apple doesn’t provide a direct invoice download from this interface.
Using a Computer (via Apple’s website):
1. Open a web browser and visit Apple’s Report a Problem website.
2. Sign in with your Apple ID.
3. In the list of purchases, find the in-app purchase you want the invoice for.
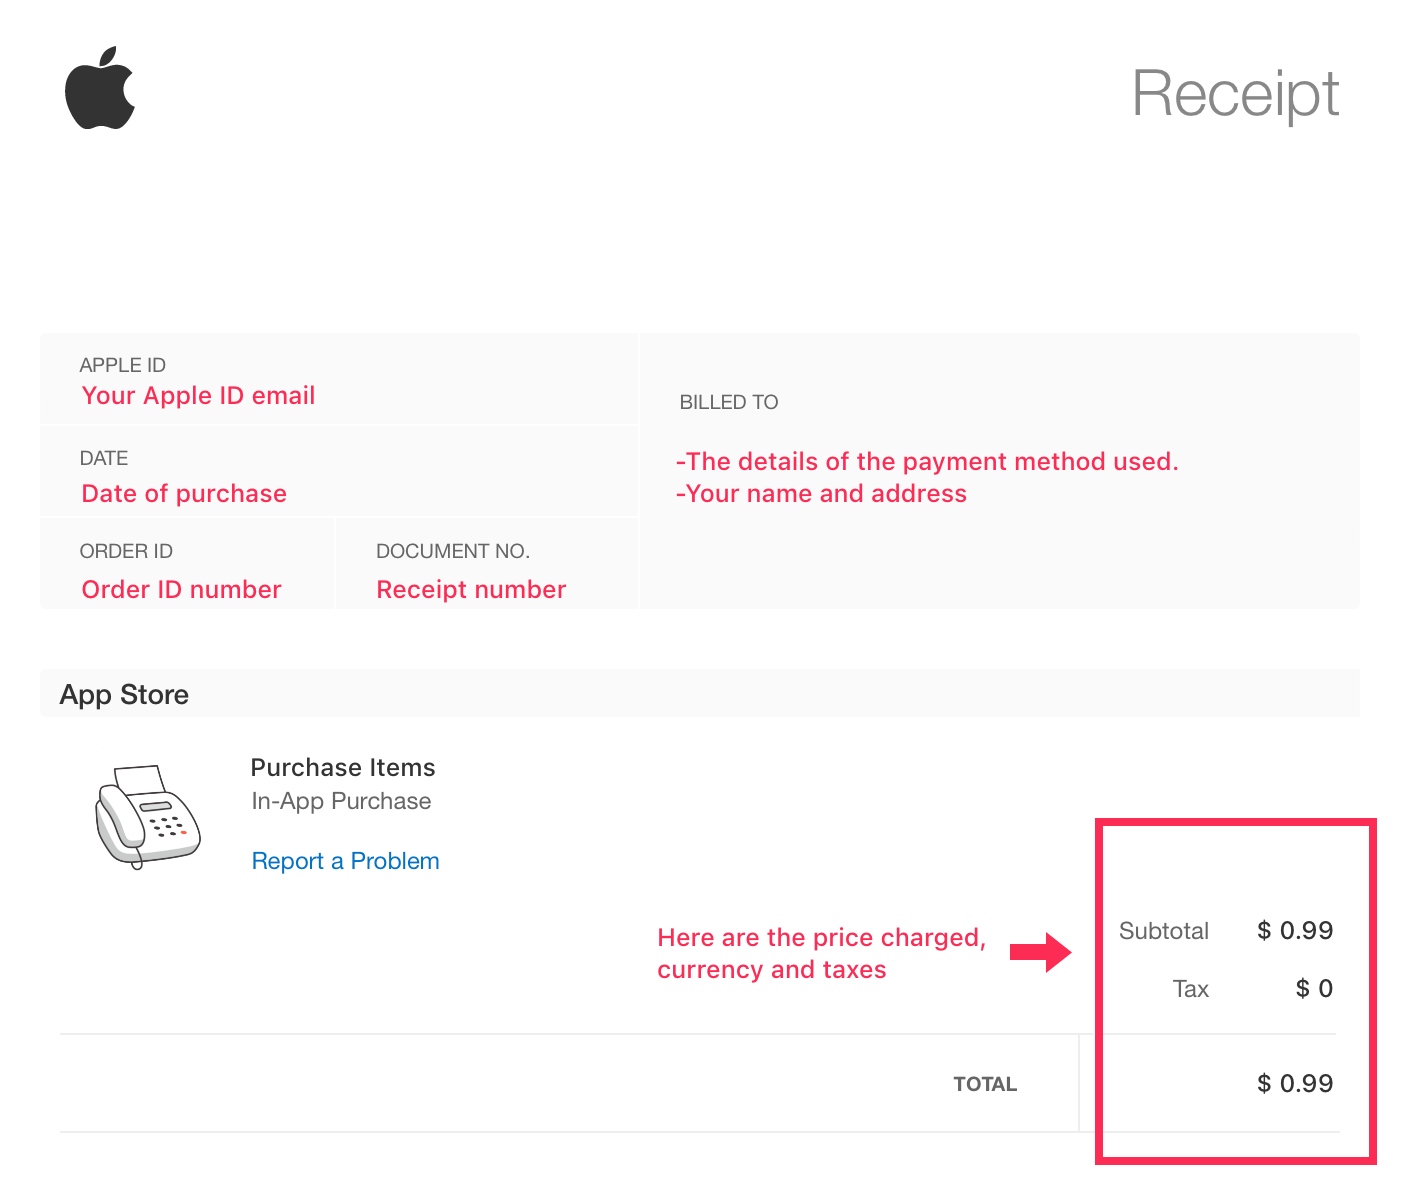
4. Click on "Invoice" or "View Receipt" next to the transaction, which will open a detailed purchase receipt that you can print or save.
Apple Support:
If you're unable to locate your invoice using the above steps, you can contact Apple Support for assistance. They should be able to provide you with a copy of your receipt.
Get Start
How to send a fax?
To send a fax, please follow the steps below:
1. Tap the "Add Fax" button.
2. Enter the recipient's details.
3. Tap "Add Document" to upload the file you wish to fax.
4. Tap "Next."
5. After reviewing the fax to ensure everything is correct, Tap "Send" to transmit the fax.
Important: Check your Fax Status to confirm if your document was sent successfully. If you’ve enabled notifications, the app will notify you automatically. Make sure to turn on Push Notifications for the app in your device settings.
How to receive faxes?
To receive faxes, please follow the steps below:
1. Get Your Fax Number.
(1) Tap the "Buy Number" button at the bottom right corner of the screen.
(2) Select your country, city, and a plan to choose your dedicated fax number.
2. Start Receiving Faxes. Once your fax number is successfully purchased, you’re ready to start receiving faxes!
Important: Make sure you have enough credits to receive a fax. You can tap the "Buy Credits" button if you need to purchase additional credits.